How to calibrate and verify the conductivity sensor
Kajal Jaiswal | February 02, 2024As scientists, we rely on accurate and precise measurements in our experiments. One of the most important factors in achieving accurate measurements is proper calibration and verification of your equipment. The conductivity sensor is a highly accurate instrument used in various scientific and industrial applications to measure the electrical conductivity of solutions. Regular calibration and verification of the conductivity sensors are necessary to ensure that the instrument is working properly and giving accurate and reliable results. In this article, we'll walk you through the calibration and verification process of METTLER TOLEDO’s InLab 731-ISM and InLab 741-ISM conductivity sensors. We'll explore the steps involved in the process, and the recommended standard for verification.
Calibration of METTLER TOLEDO’s InLab 731-ISM
Before using the InLab 731-ISM conductivity sensor, it's crucial to calibrate it with the 1413 uS/cm standard.
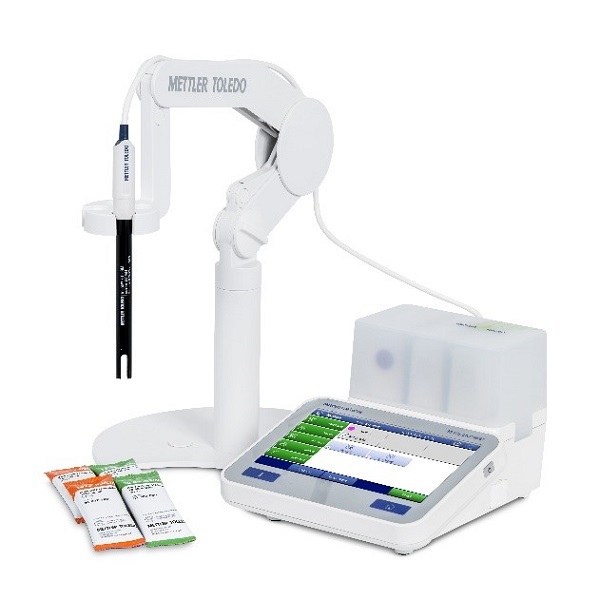 Source: Mettler Toledo
Here are the steps to follow:
Start by opening the sachet containing the standard and placing it inside the sachet holder on a stable surface. Make sure that the sachet holder is clean and dry.
Rinse the sensor with deionized water and dab it with a tissue to remove any residue. This step helps to remove any contaminants that might affect the accuracy of the sensor.
Immerse the sensor into the conductivity standard. The sensor should be fully submerged in the standard, and the solution should cover the sensor’s entire measuring surface.
Select the conductivity module on SevenExcellence and select "Calibrate" under Module settings to start calibrating the sensor. This step allows the instrument to adjust to the conductivity of the standard, ensuring accurate measurements.
Once the calibration process is complete, the cell constant value is seen on the meter. Simply save the newly generated cell constant. This value is crucial for future measurements, as it helps to calculate the conductivity of other solutions accurately.
Remove the sensor from the standard, clean it with deionized water, and dab it with a tissue. This step helps to remove any residue from the standard and ensures that the sensor is ready for future measurements.
By following these steps, you can calibrate your conductivity sensor accurately and ensure that your measurements are reliable.
Verification of METTLER TOLEDO’s InLab 741-ISM
The InLab 741-ISM conductivity sensor comes with a certified cell constant and doesn't require calibration. However, it does need verification before the first use.
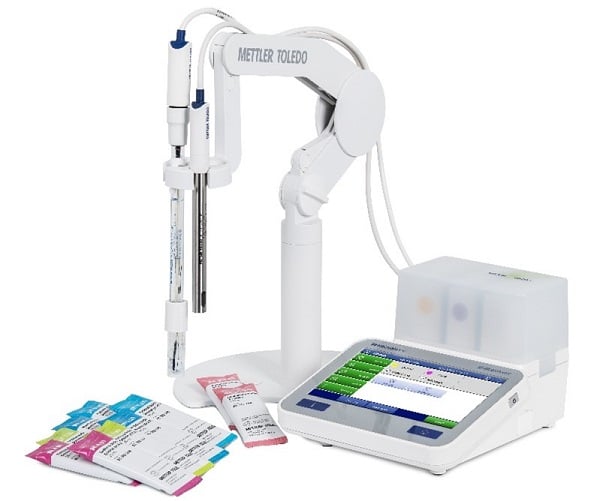 Source: Mettler Toledo
Here's how to do it:
The first step in verifying the conductivity sensor is to open the sachet containing the standard and place it inside the sachet holder. This ensures that the standard is ready to be used for the verification process.
Next, rinse the sensor with deionized water and dab it with a tissue to ensure that it is clean and free from any contaminants that may affect the accuracy of the readings.
Then immerse the sensor in the conductivity standard. This allows the sensor to read the conductivity of the standard.
The next step is to select the conductivity module on SevenExcellence that displays the Module settings for verification.
Then select the "Read" button to start the verification process. This initiates the reading of the conductivity standard by the sensor.
Now compare the value seen on the meter with the expected value. This helps to determine whether the module is working properly or not.
Then check the quality certificate and calculate the lower and upper limits based on the example provided to ensure that the readings are accurate.
The final step is to remove the sensor from the standard, clean it with deionized water, and dab it with a tissue. This prepares the sensor for use in future verifications and prevents contamination that may affect future readings.
In conclusion, the proper calibration and verification of conductivity sensors are crucial for accurate and reliable measurements. Calibration ensures that the sensor readings are accurate, while verification ensures that the sensor's performance remains consistent over time. By following the steps outlined above, you can ensure that your sensors are calibrated and verified correctly, leading to more accurate and reliable results in your experiments. So, the next time you use a conductivity sensor, remember to calibrate and verify it correctly to get the most accurate readings possible.
Download METTLER TOLEDO’s Conductivity Measurement Theory Guide to understand the applications and theory of conductivity measurement. To learn more about the conductivity sensors, visit mt.com